Carpentry and construction

Jump to:
Aviary
Breeding cage
Bird room door
Window screen protectors
Ceiling fan cage
Door and window guard for temporary bird room

The Great Aviary Project
This was my first venture into building useful stuff.

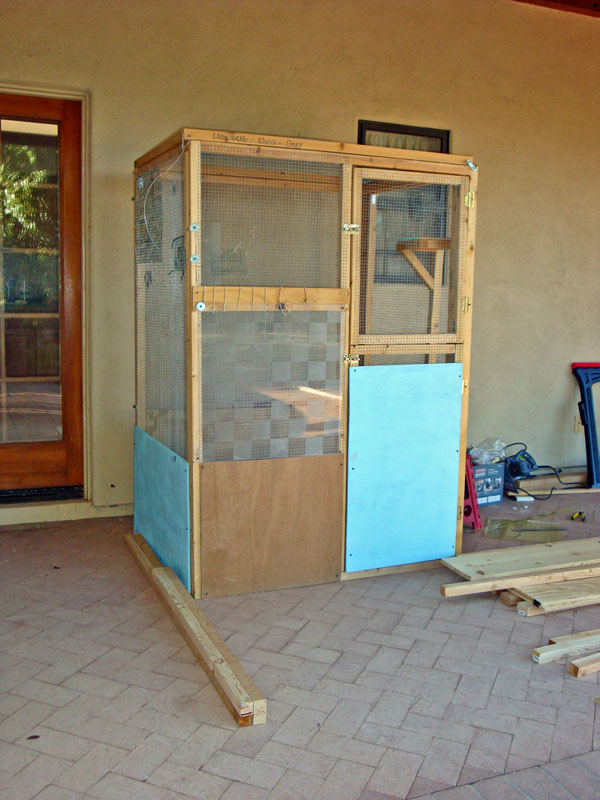
In 2011 I was given this aviary along with 4 adult cockatiels and 5 babies in the nest.  At approximately 4 feet wide, 3 feet deep, and 6 feet high, it was nice.  But it wasn't very practical for indoor use because it couldn't be moved without taking it apart.  It wasn't practical for outdoor use either because it didn't have a floor (it used the house floor for a bottom) and it didn't have a safety door.  So after the babies were grown I took it apart and it gathered dust in the garage for two years.
(2011)
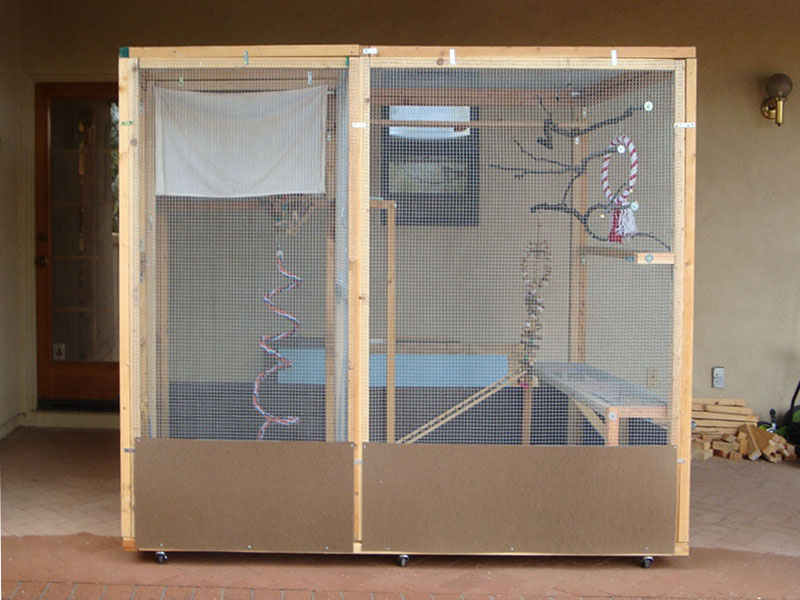
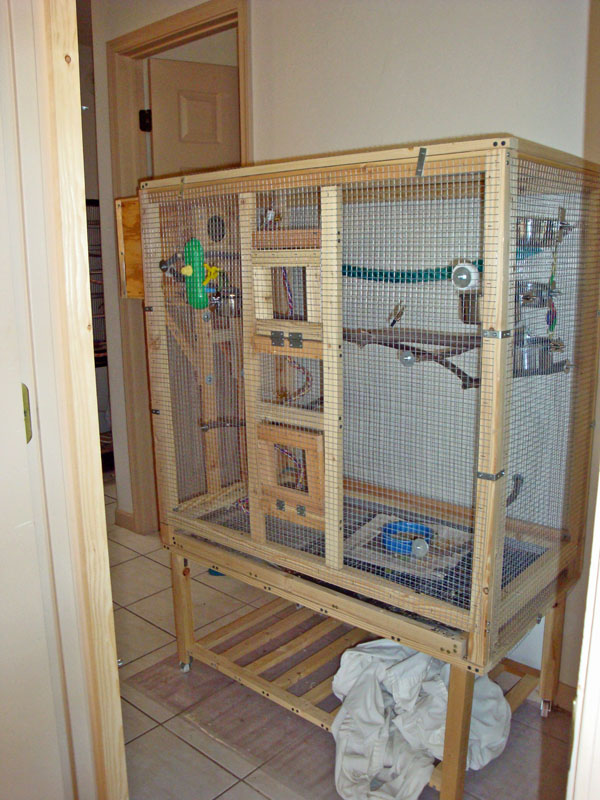
Around Halloween 2013 I started on a remodeling project, and when I was finished three weeks later the aviary was about 80% new construction.  I used all the original pieces, but added a section that was four feet wide and four feet deep (giving it new overall dimensions of 4x7 feet). I also built a floor on wheels, a safety door, and various other amenities.  I put in new 'baseboards' and replaced the hardware cloth (wire) on part of the original sections because it was in bad shape.
(2013)
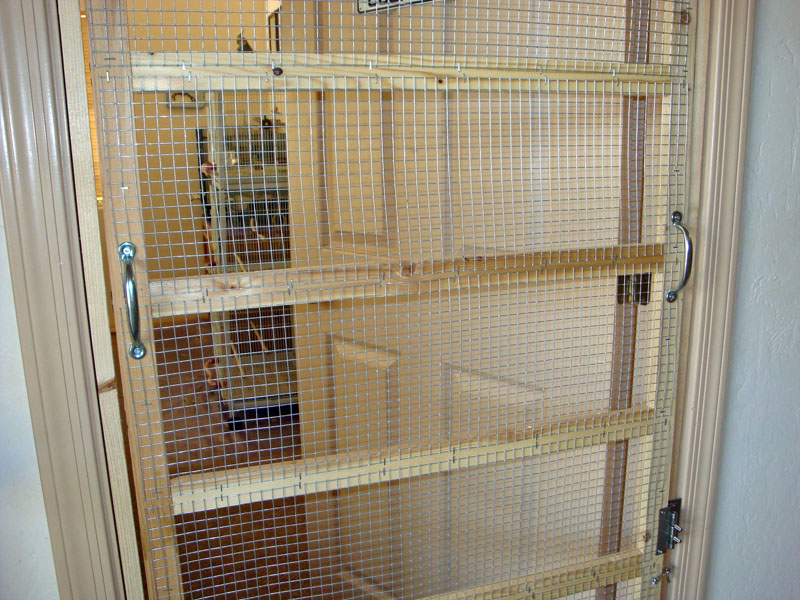
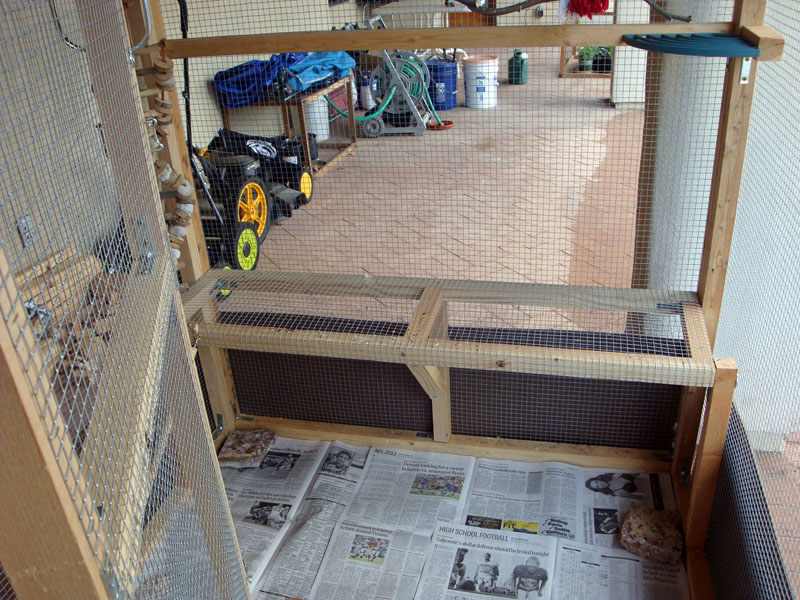
I subdivided the original aviary into two sections.  Half of it is the chamber for the safety door and half of it is the nook (more on that later).  Beyond that is the new 4x4 section, and the back end is the back panel from the original aviary. 
(2013)
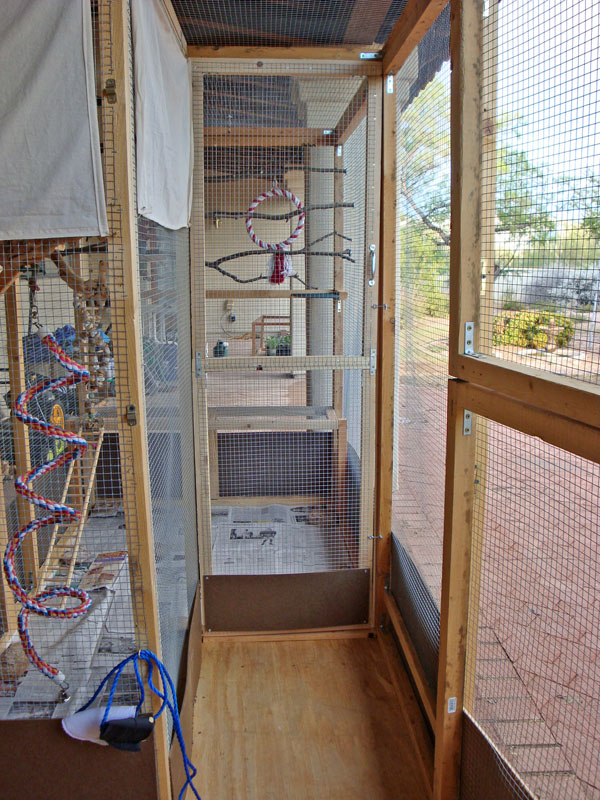
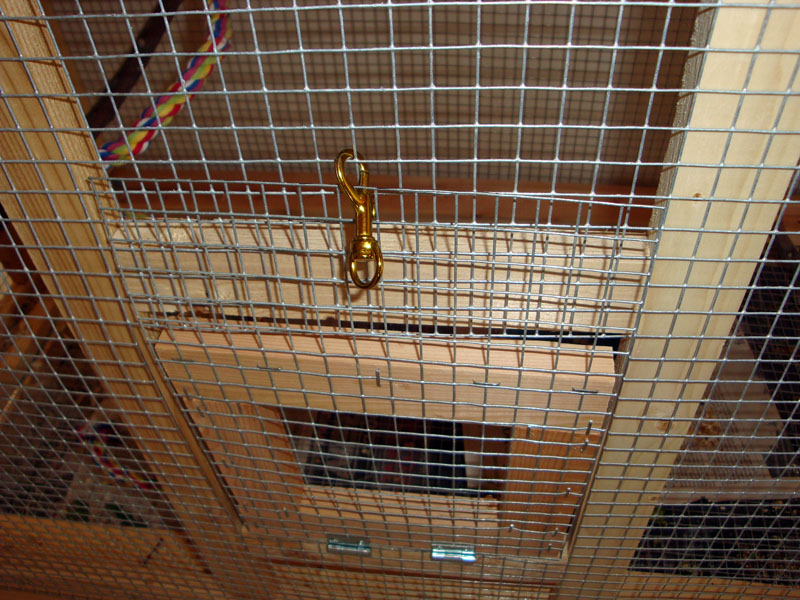
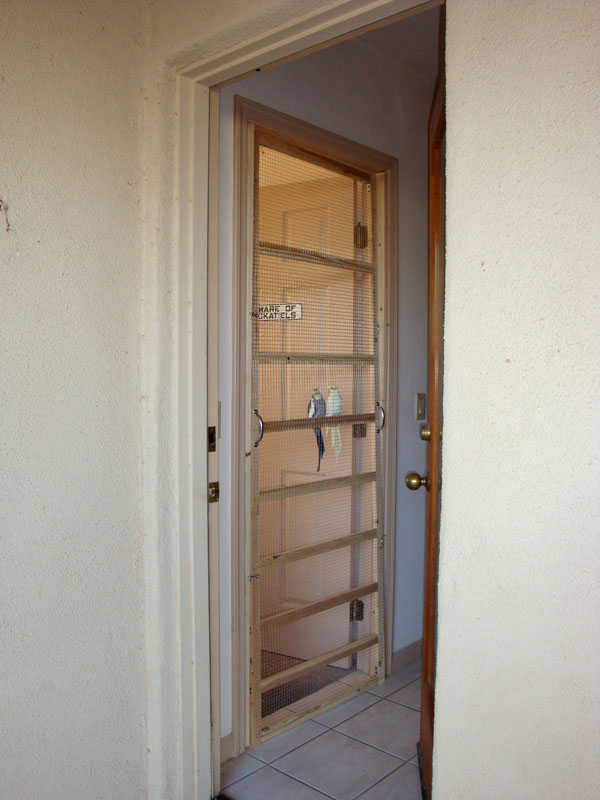
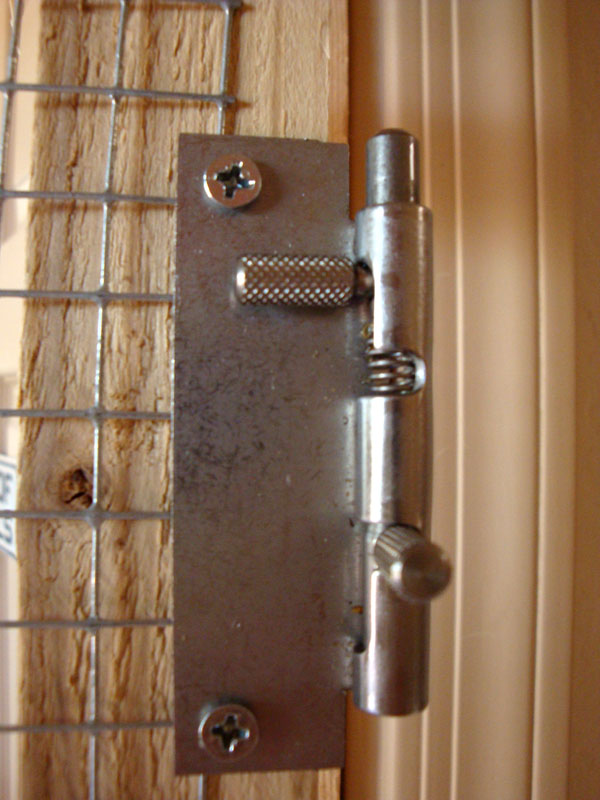
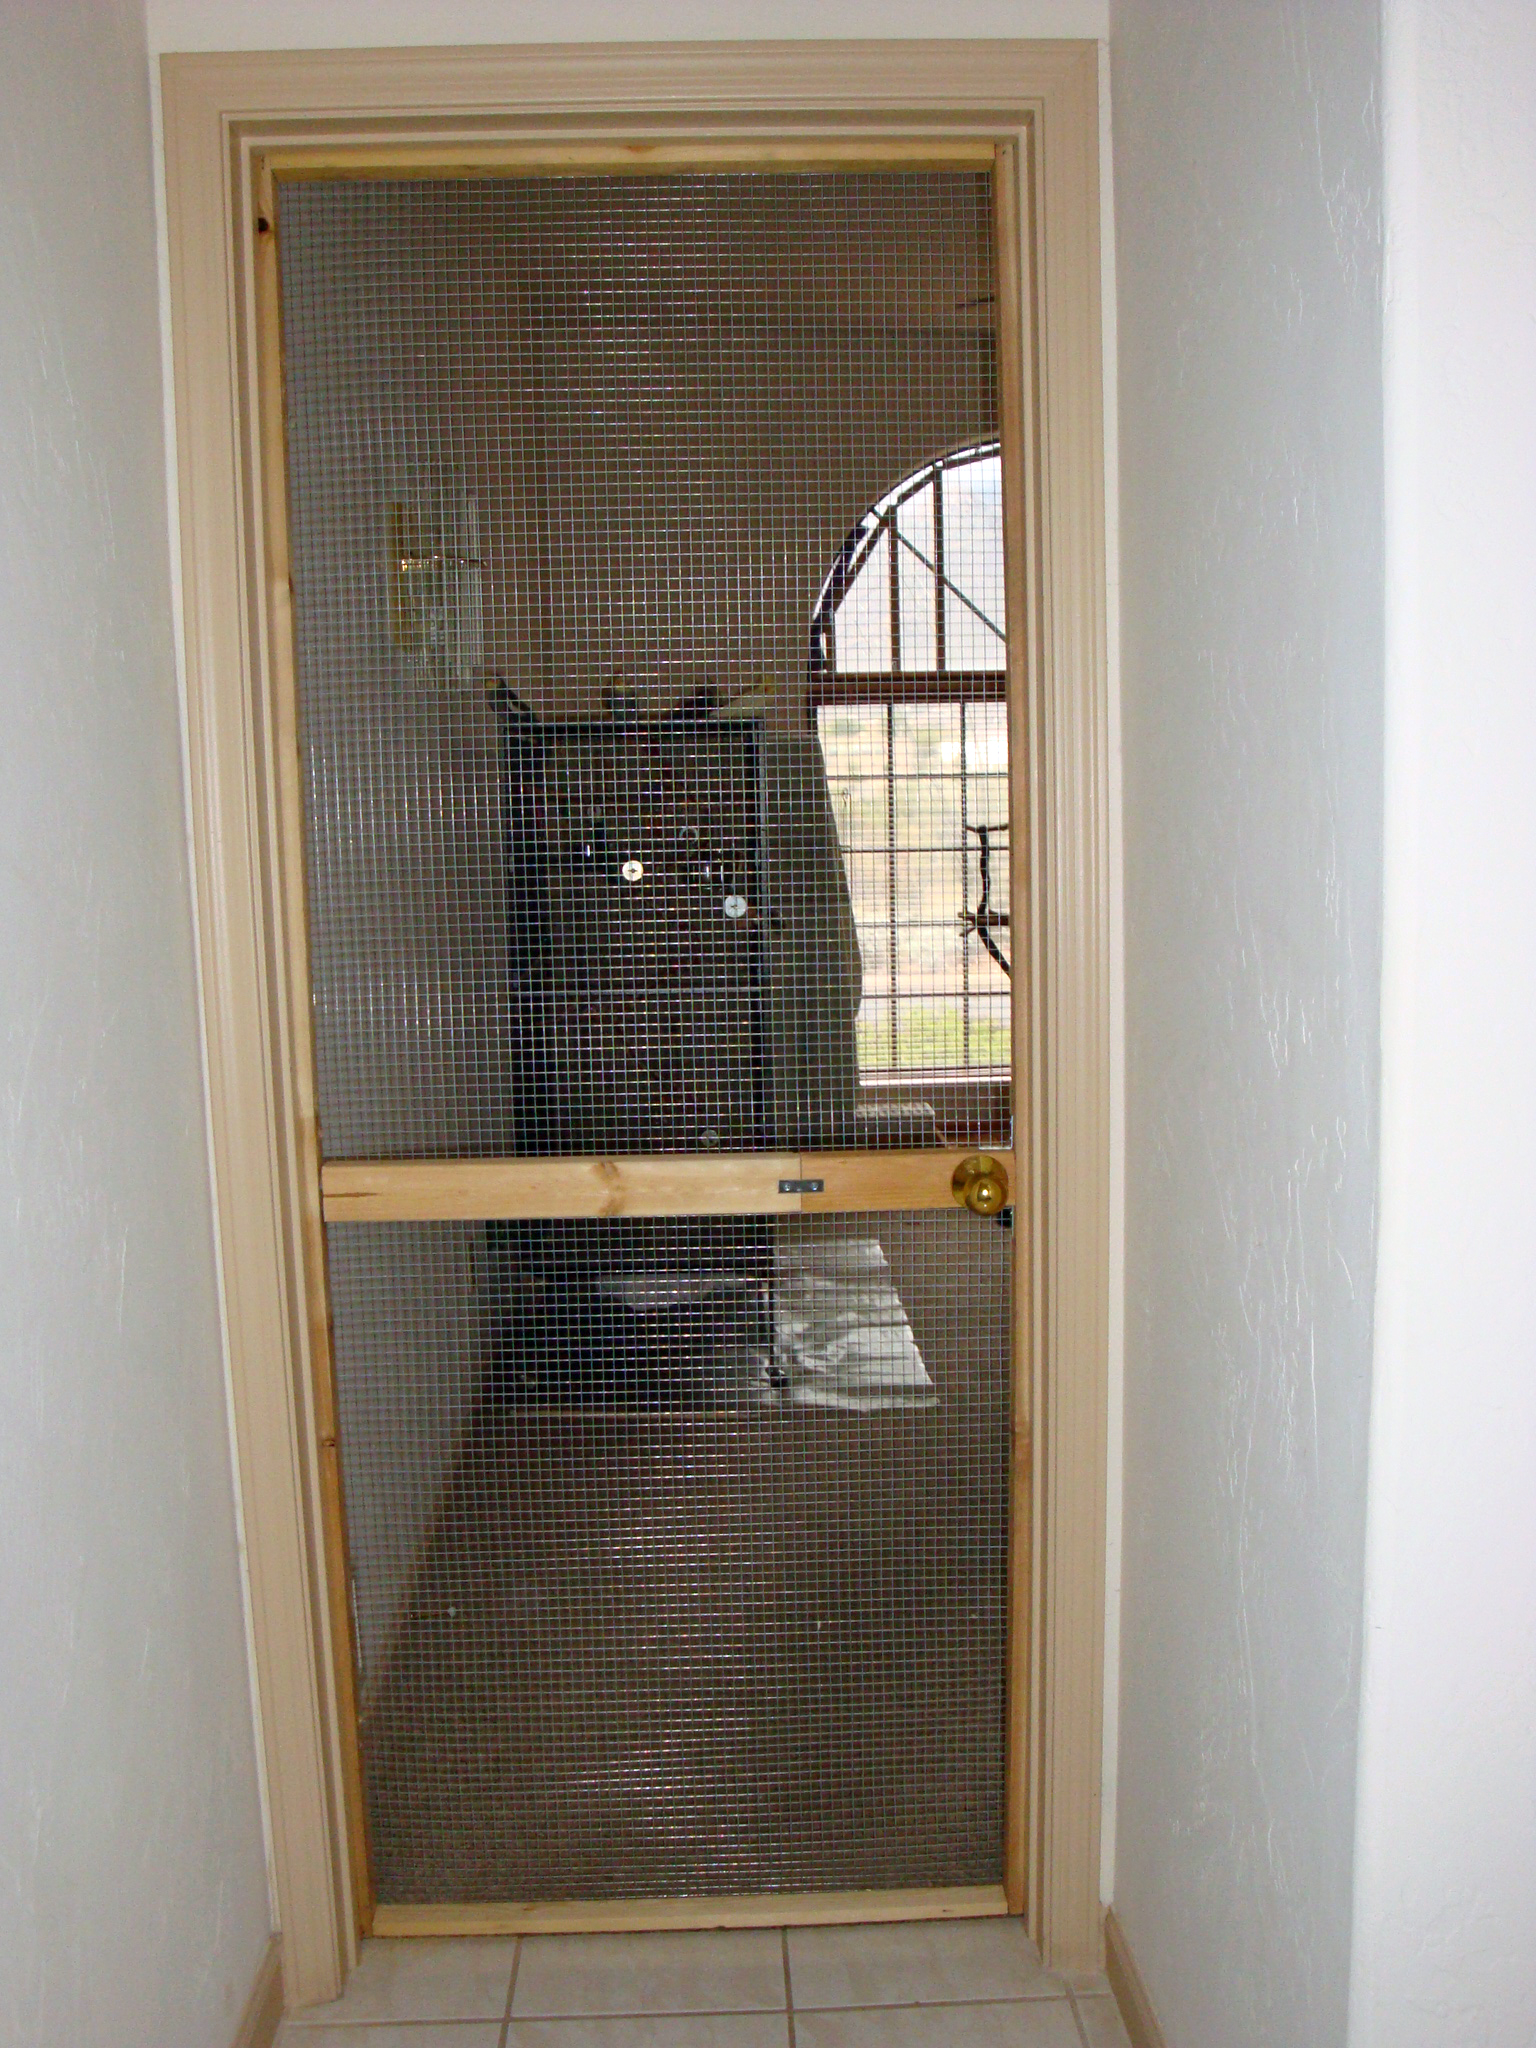
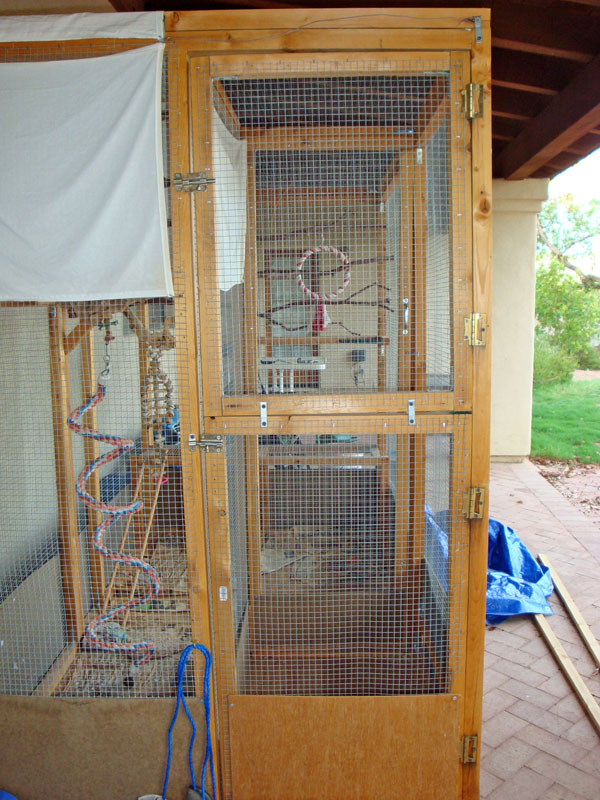
Looking through the front door toward the inner door.  The safety door operates on the same principle as an airlock - two doors with a small chamber between them so one door can be securely closed before the other door is opened. Both doors have locks on both the inside and the outside.  I carry the birds into the aviary in a small, secure cage, lock the outer door behind me, and let them out of the cage.  Then I lock the inner door with the birds in the main aviary and me in the safety chamber before I open the outer door and leave.
(2013)
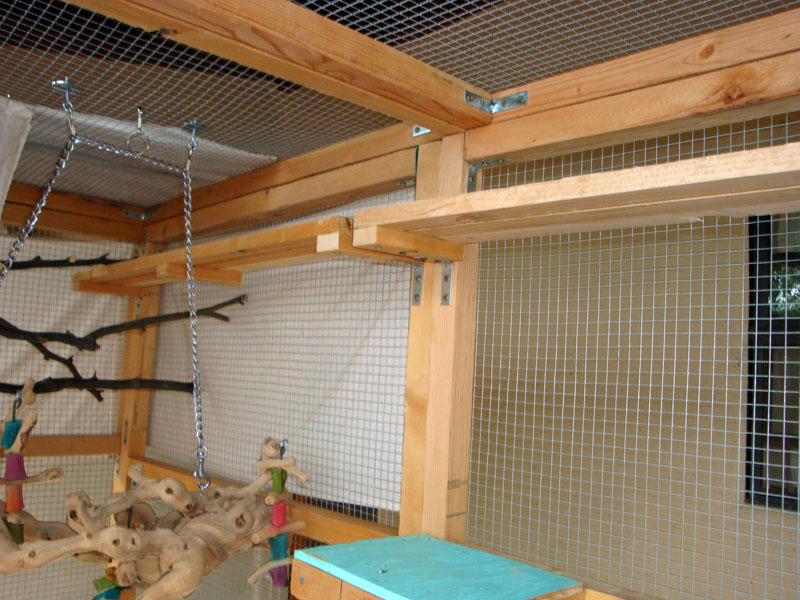
I installed a wire shelf so I would have a place to put the transport cage when I was letting birds out or rounding them up to take them back into the house.  It's strong enough to be used as a seat if you don't care what happens to your hair or your pants. You'd be sitting in a major poop-bombing area.
(2013)
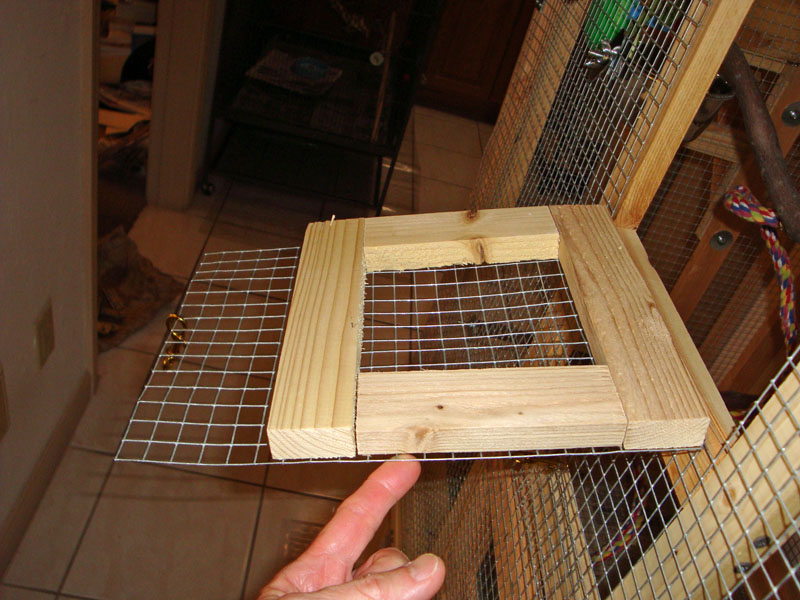
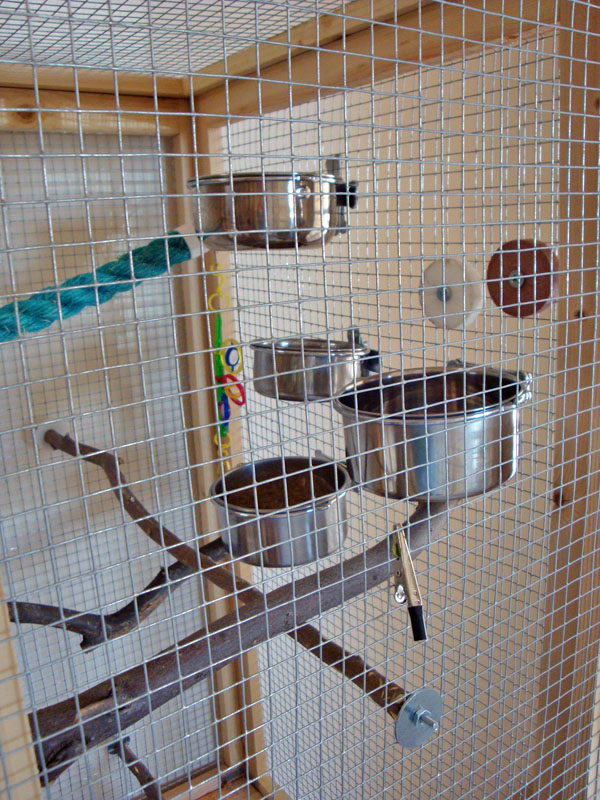
This picture shows why it would be hazardous to sit on the wire bench.  The aviary features natural mesquite perches cut from a tree in the yard, custom fitted to the aviary, and installed right above the bench. 
(2013)
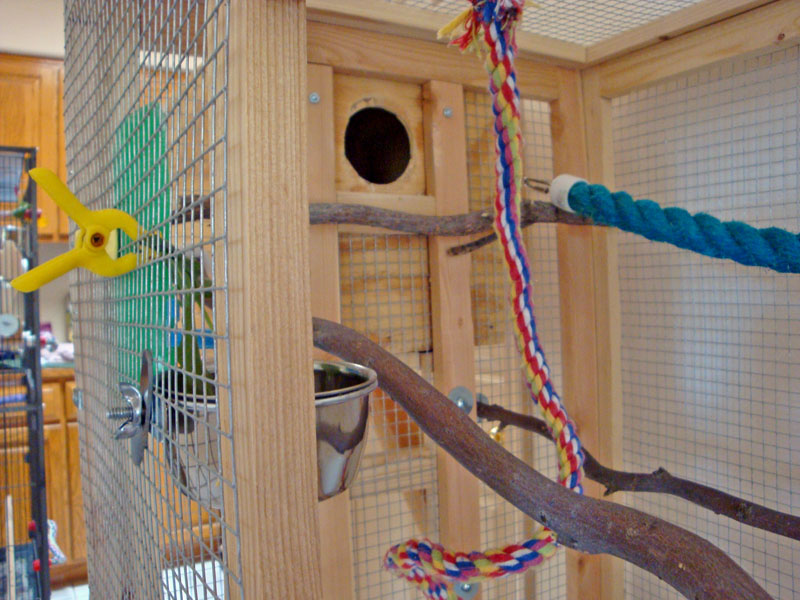
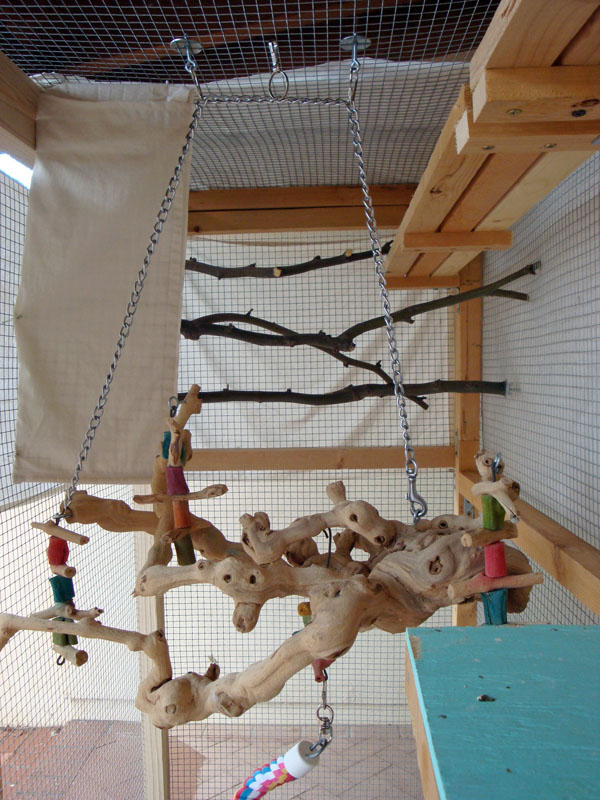
A boardwalk runs across the long side of the aviary from the perches at the back end to the nook.  It's a popular cockatiel highway.
(2013)
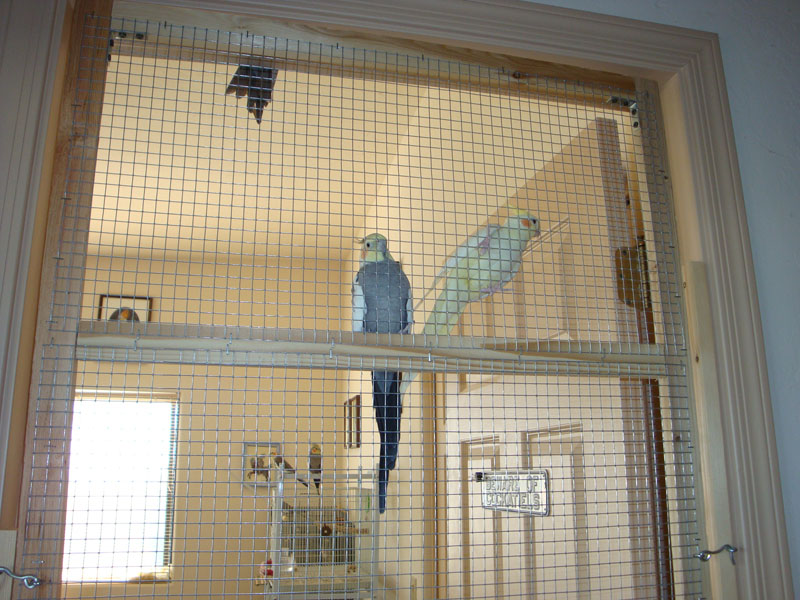
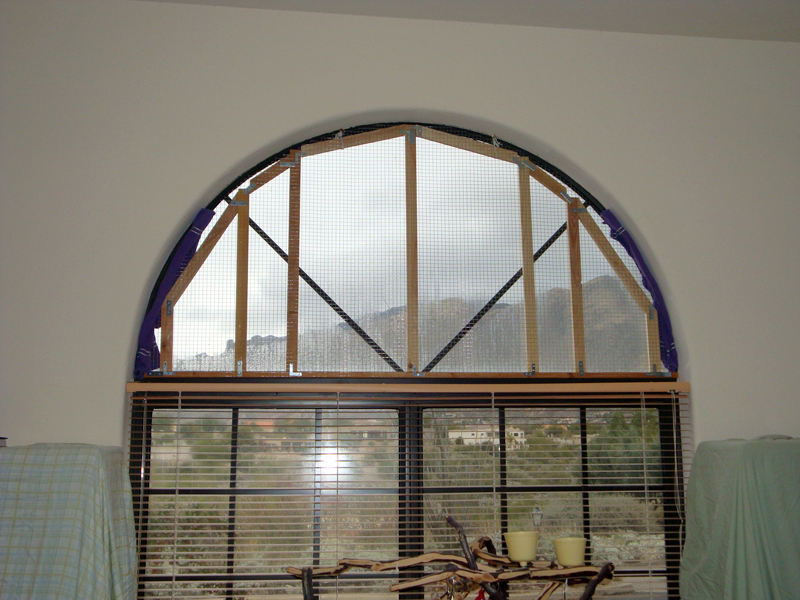
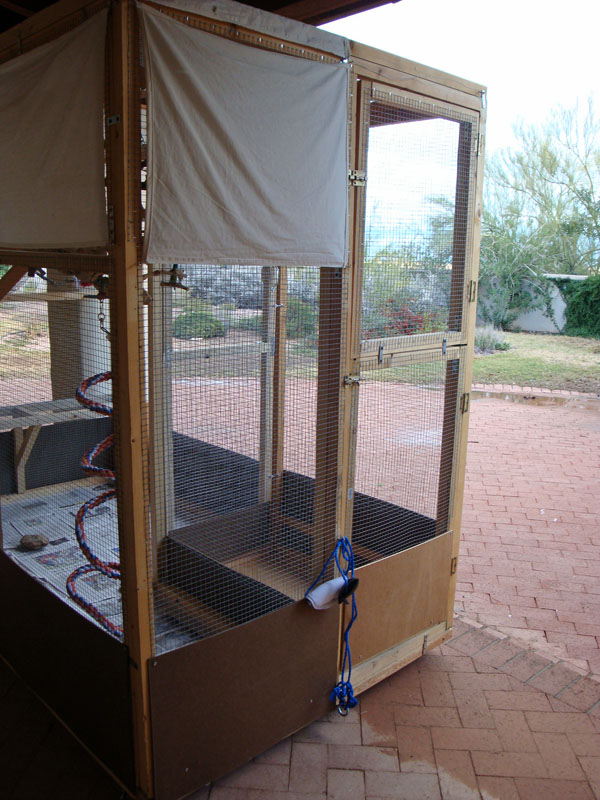
There are too many predators in the back yard (particularly hawks) for the cockatiels to actually live in an outdoor aviary; it's just a play area where they can hang out for a couple of hours and catch some rays while I'm in the vicinity often enough to discourage the wildlife.  So it doesn't have the sturdy shelter area that would be needed if the tiels were going to live out there in all weather.  But it does have the nook, an area screened in with muslin cloth to provide shade for birds who've had enough sun. It's also a place to hide if anyone is feeling nervous about what's going on in the yard (like one of those pesky hawks taking a fly-through). But it's open on the bottom and partly open on one side so it doesn't feel too enclosed - I don't want anyone to start thinking it would be a nice place for a nest!
(2013)
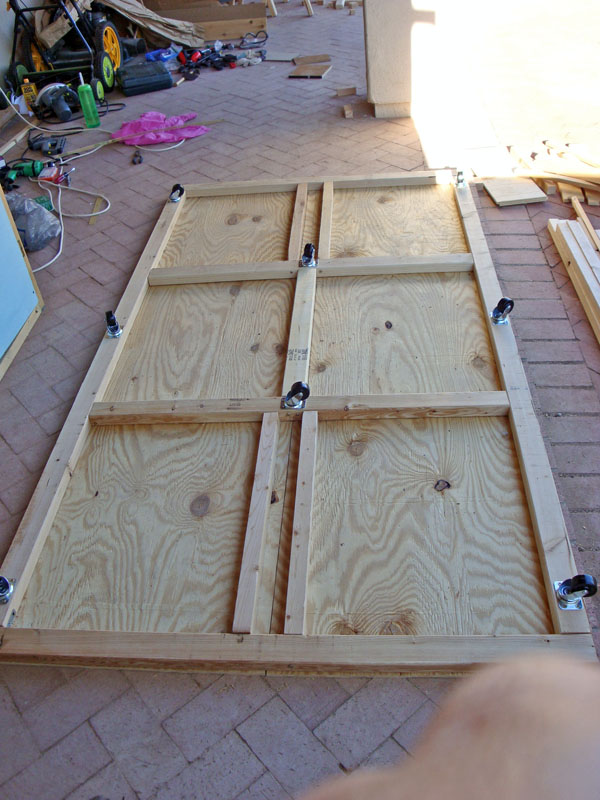
The top side of the floor is smooth plywood.  This is the bottom side.  I figured it would never be seen again once the aviary was assembled so I took a picture right after the floor was built.
(2013)
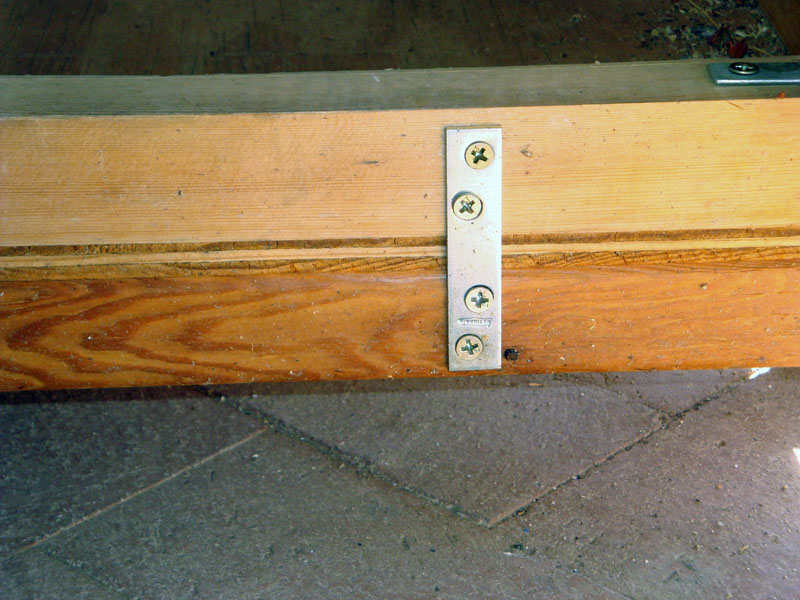
The exterior walls are attached to the floor with straight metal brackets on the outside of the aviary.
(2013)
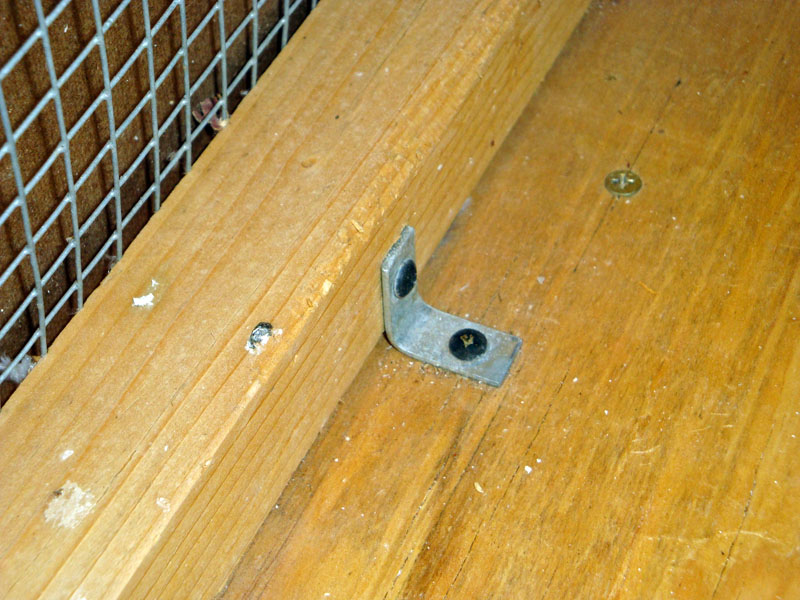
The interior wall in the entryway is attached to the top of the floor with L-shaped brackets.
(2013)
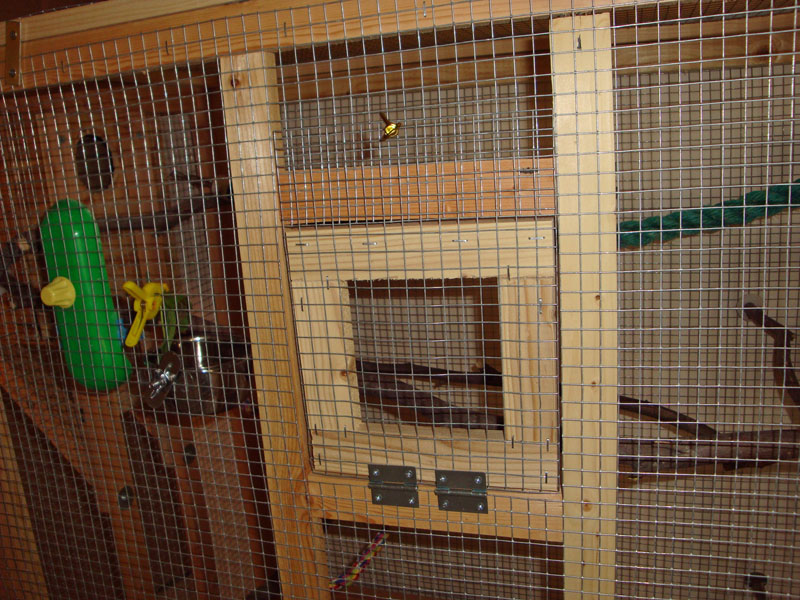
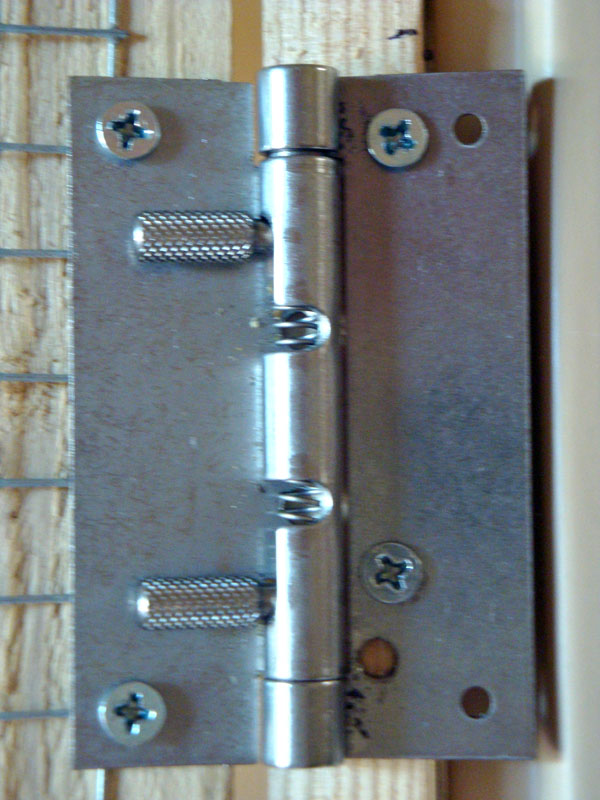
The original aviary door was a Dutch door - the top and bottom were basically two separate doors that opened and closed independently.  That's why there's a lock for the top and another for the bottom, and two hinges on each section.  I thought this was annoying so I used straight metal brackets to tie them together.  Now they operate as a single door, but I could change it back to a Dutch door at any time by unscrewing the brackets.
(2013)
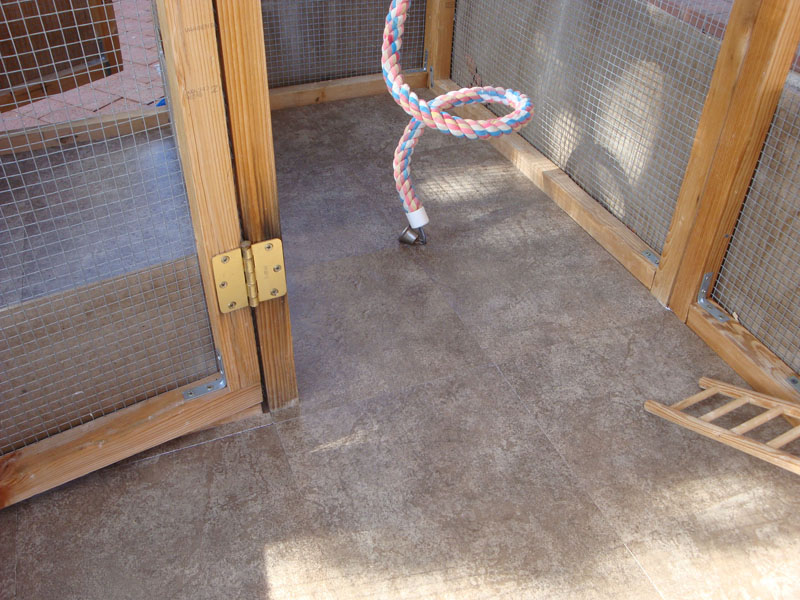
I wasn't completely happy with the unfinished floor, so in December 2015 I installed some cheap stick-on floor tile that I bought on clearance at Home Depot.
(2015)

Breeding cage
I needed another breeding cage so I could move all my breeders out of the bird room and into an area where they wouldn't be constantly harassed by non-breeding birds lusting after the nestbox. So I built my own! Please excuse the poor pictures - the cage is currently occupied and located in the hallway where it can be hard to get a good angle.

The cage is basic wood and hardware cloth construction, with upper and lower doors for access to all parts of the cage, a slide-out tray for catching debris with a grate about it, and perches made mostly from mesquite and acacia trees in the yard.
(2014)
The doors were originally hinged at the bottom, and the wire sticks up higher than the wooden frame for a reason.  I later changed this to hinge at the left side with the wire sticking out further on the right side, so it would swing open like a door instead of opening downward.
(2014)
Here's the reason the wire sticks out so far.  I use a snap clip as a lock, clipping clipping the wire on the door to the wire above the door. 
(2014)
A less distorted view of the closed door. When the door is open, it hangs straight down.  The wooden frame is a convenient place for birds to stand.
(2014))
Screw-on "coop cups" are used for the food service.
(2014)
I didn't make the nestbox myself - it was given to me along with the aviary in 2011. I did some remodeling to make it safer.  The box was originally attached to the aviary by simply cutting a big hole in the wire and jamming the box into it.  Now it's screwed to the frame and has a shelf underneath to help support it.  
(2014)
Instead of the typical top-lifting door, it has a sliding door on the back end which is pretty nice.  I filed down the edges of the door so it would slide better. Inside, there was a partial wall across the back end to help keep the contents from spilling out when the door is opened.  But it wasn't high enough to really keep the babies safe, and the parents had chewed the wood down and exposed some dangerously sharp nail heads that could tear the babies' skin.  So I replaced this barrier with a higher one that wouldn't develop any nail issues.  Sorry, no pictures right now because the occupants wouldn't like it.  
(2014)

Bird room door
 

It wasn't enough to move the breeders out of the bird room. I also needed to keep the "nest raptors" in the bird room.  Closing the solid door wouldn't work because the room gets very hot when the door is closed, so I made a screen door to allow air flow.
(2014)
The door is in a fairly narrow hallway so I had to step outside to get the whole door in one picture.  I had a lot of narrow strips of hardware cloth left over from the aviary and breeding cage, so I put a lot of crossbars on the door so I could use them up. Wood is cheaper than wire.  I originally used four gate hooks to hold the door in place, which you can see in this picture.
(2014)
Due to the narrowness of the hallway and the large cages that get moved through that area, there are times when I need to be able to open one side or the other, or take the door off completely. The gate hooks were inconvenient so I installed quick-release hinges, two on the left and two on the right,  to make it easy to change the configuration.   They're like a combination of a door hinge and a sliding barrel-bolt lock. There are retractable pins in the middle that hold everything in place when they're extended, but you can slide them back when you want to take the door off the hinge.
(2014)
A demonstration of the mechanism. This hinge has been opened. The pin is extended on the top half of the hinge and retracted on the bottom.  The two tabs on the side of the cylinder are used to pull the pins back and lock them in place, or release them back into the extended position.  Springs in the cylinder are used to keep the pins in the extended position unless you retract them.
(2014))
The door has two handles, on the the left and one on the right, so there'll be a handle in the right place no matter which side of the door is being opened.  It also makes it easy to carry the door when it's completely off the hinges, and to lift it into position when reconnecting the hinges. 
(2014)
Ha ha Squeebis and Teela. Your nest-raiding days are over.   
(2014)

Window screen protectors
 

A cockatiel's beak can easily make holes in an ordinary window screen.  Hardware cloth wire mounted on a wooden frame and inserted into the open part of the window lets the air flow through while keeping those sharp little beaks at a safe distance from the regular screen.  The blinds have been raised in this picture for a better view of the screen. 
(2014)
The blinds are normally in the "down" position to prevent cockatiels from going splat against the glass. I close the blinds completely when the afternoon sun starts beating against the window. Blocking out the direct sunlight makes a big difference in the room temperature.
(2014)

Ceiling fan cage

Ceiling fans are very dangerous to flying birds, and I couldn't let the birds out of the cage when the fan was running.  That is, until I put the fan in a cage.  Now it's safely screened off and the birds can have out-of-cage fun when the fan is on. I was afraid the cage would rattle when the fan was running but it's SILENT, even on high speed.
(2014)
Making the cage was the easy part. The big challenge was installing it. It isn't heavy but it's large and awkward.  How does a 5-foot person raise something like this to the top of a 9-foot ceiling? Plan A was to gradually raise it up with piles of cardboard boxes.  I got it within a couple inches of the ceiling, but it wasn't stable enough to use tools on it.  
(2014)
Plan B worked better. I screwed four eyelet hooks into the ceiling beams, ran rope through them, and gradually raised it up, lifting each corner about a foot at a time 
(2014)
The frame is screwed into the ceiling beams, with a disc washer to help distribute the weight.  I left the eyelet hooks in the ceiling, so they'll be ready for use if I ever decide I need to take the fan cage down for some reason. Taking it down would be like putting it up, in reverse:  attach ropes and lower it gradually.
(2014))
There usually shouldn't be any need to take it down though. See the quick-release hinges at the top and bottom of the picture?  The whole bottom of the cage is a trap door that I can open up or remove if I want to dust the fan blades or do any other kind of maintenance.  There's more info on quick-release hinges in the "bird room door" section above. 
(2014)
The trap door is open in this photo. I can reach the latches on the east end by standing on the bed.  I need a ladder to reach the latches on the west end.   
(2014)
This means no more fledglings hanging out on top of the fan. They all seemed to seek it out instinctively - I think it reminded them of high tree branches.  It was cute, but it was a pain trying to get them down.  Did I mention that the ceiling is 9 feet high?  
(2008)

Door and window protector for temporary bird room
 

In early 2016 I wanted to temporarily move a few birds to a different room, to encourage them to pair up with each other instead of continuing to pursue hopeless romances with unsuitable partners.  But the room needed some amenities first, like a screen door.  Unlike my previous bird door, this one simply replaces the normal solid door.  It's attached to the regular hinges and uses a normal doorknob. This was my first experience using a jigsaw, which I used to cut out the holes in the wood needed for the doorknob.  The workmanship isn't elegant, but everything fits perfectly and I'm proud of it.
(2016)
The lower part of the window was covered by mini blinds, but a screen was needed for the upper part to keep birds from going splat against the glass. You can't find reasonably priced commercial coverings for an arched window, but it's really cheap to make your own out of lumber and hardware cloth. 
(2016)